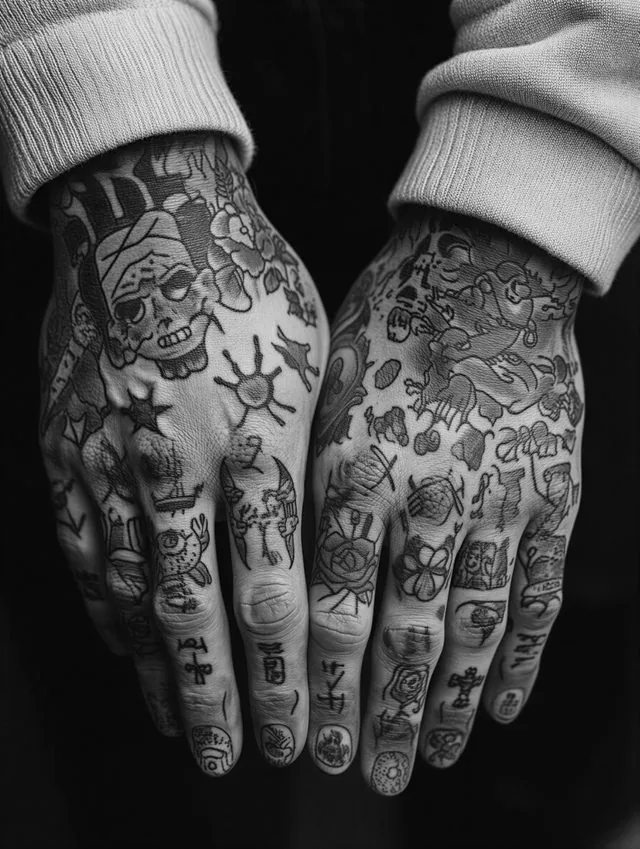
Tattoo pain chart
A body-area-by-area look at where tattoos hurt most and least, so you can plan your placement.
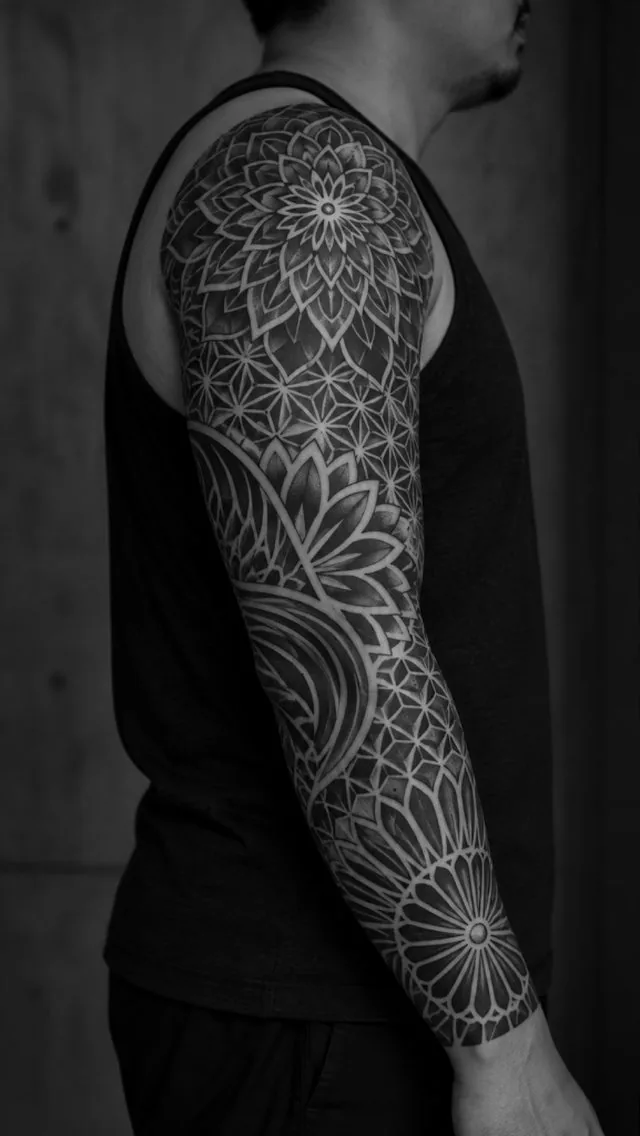
Everyone feels pain differently, but some areas are consistently easier than others. As a rule: more padding and muscle means less pain; thin skin over bone and nerve-dense areas mean more.
| Area | Pain | Why |
|---|---|---|
| Outer upper arm | Low | Good padding, few nerve endings |
| Outer thigh | Low | Plenty of muscle and fat |
| Outer forearm | Low–medium | Thick skin, easy first placement |
| Calf | Low–medium | Muscular and well padded |
| Upper back & shoulders | Low–medium | Thick skin, gets harder near the spine |
| Chest | Medium | Varies — much more intense near the sternum |
| Inner forearm | Medium | Thinner, more sensitive skin |
| Inner upper arm | High | Soft, sensitive skin |
| Hands & fingers | High | Thin skin over bone and many nerves |
| Neck | High | Thin skin, especially at the front |
| Stomach | High | Depends on the area and skin tension |
| Feet & ankles | Very high | Very little padding over bone |
| Ribs | Very high | Thin skin, bone and breathing movement |
| Spine & sternum | Very high | Directly over bone |
| Knees, elbows & armpits | Very high | Thin, loose skin and dense nerves |
| Head & face | Very high | Thin skin over the skull |
Choosing your first placement
If you're nervous, start somewhere in the low range — the outer arm, forearm, thigh or calf. Save ribs, feet and the spine for when you know how you handle it.
This chart is general guidance, not a guarantee. Your own tolerance, the style and the length of the session matter just as much as placement.